STEP 1- Moodboard
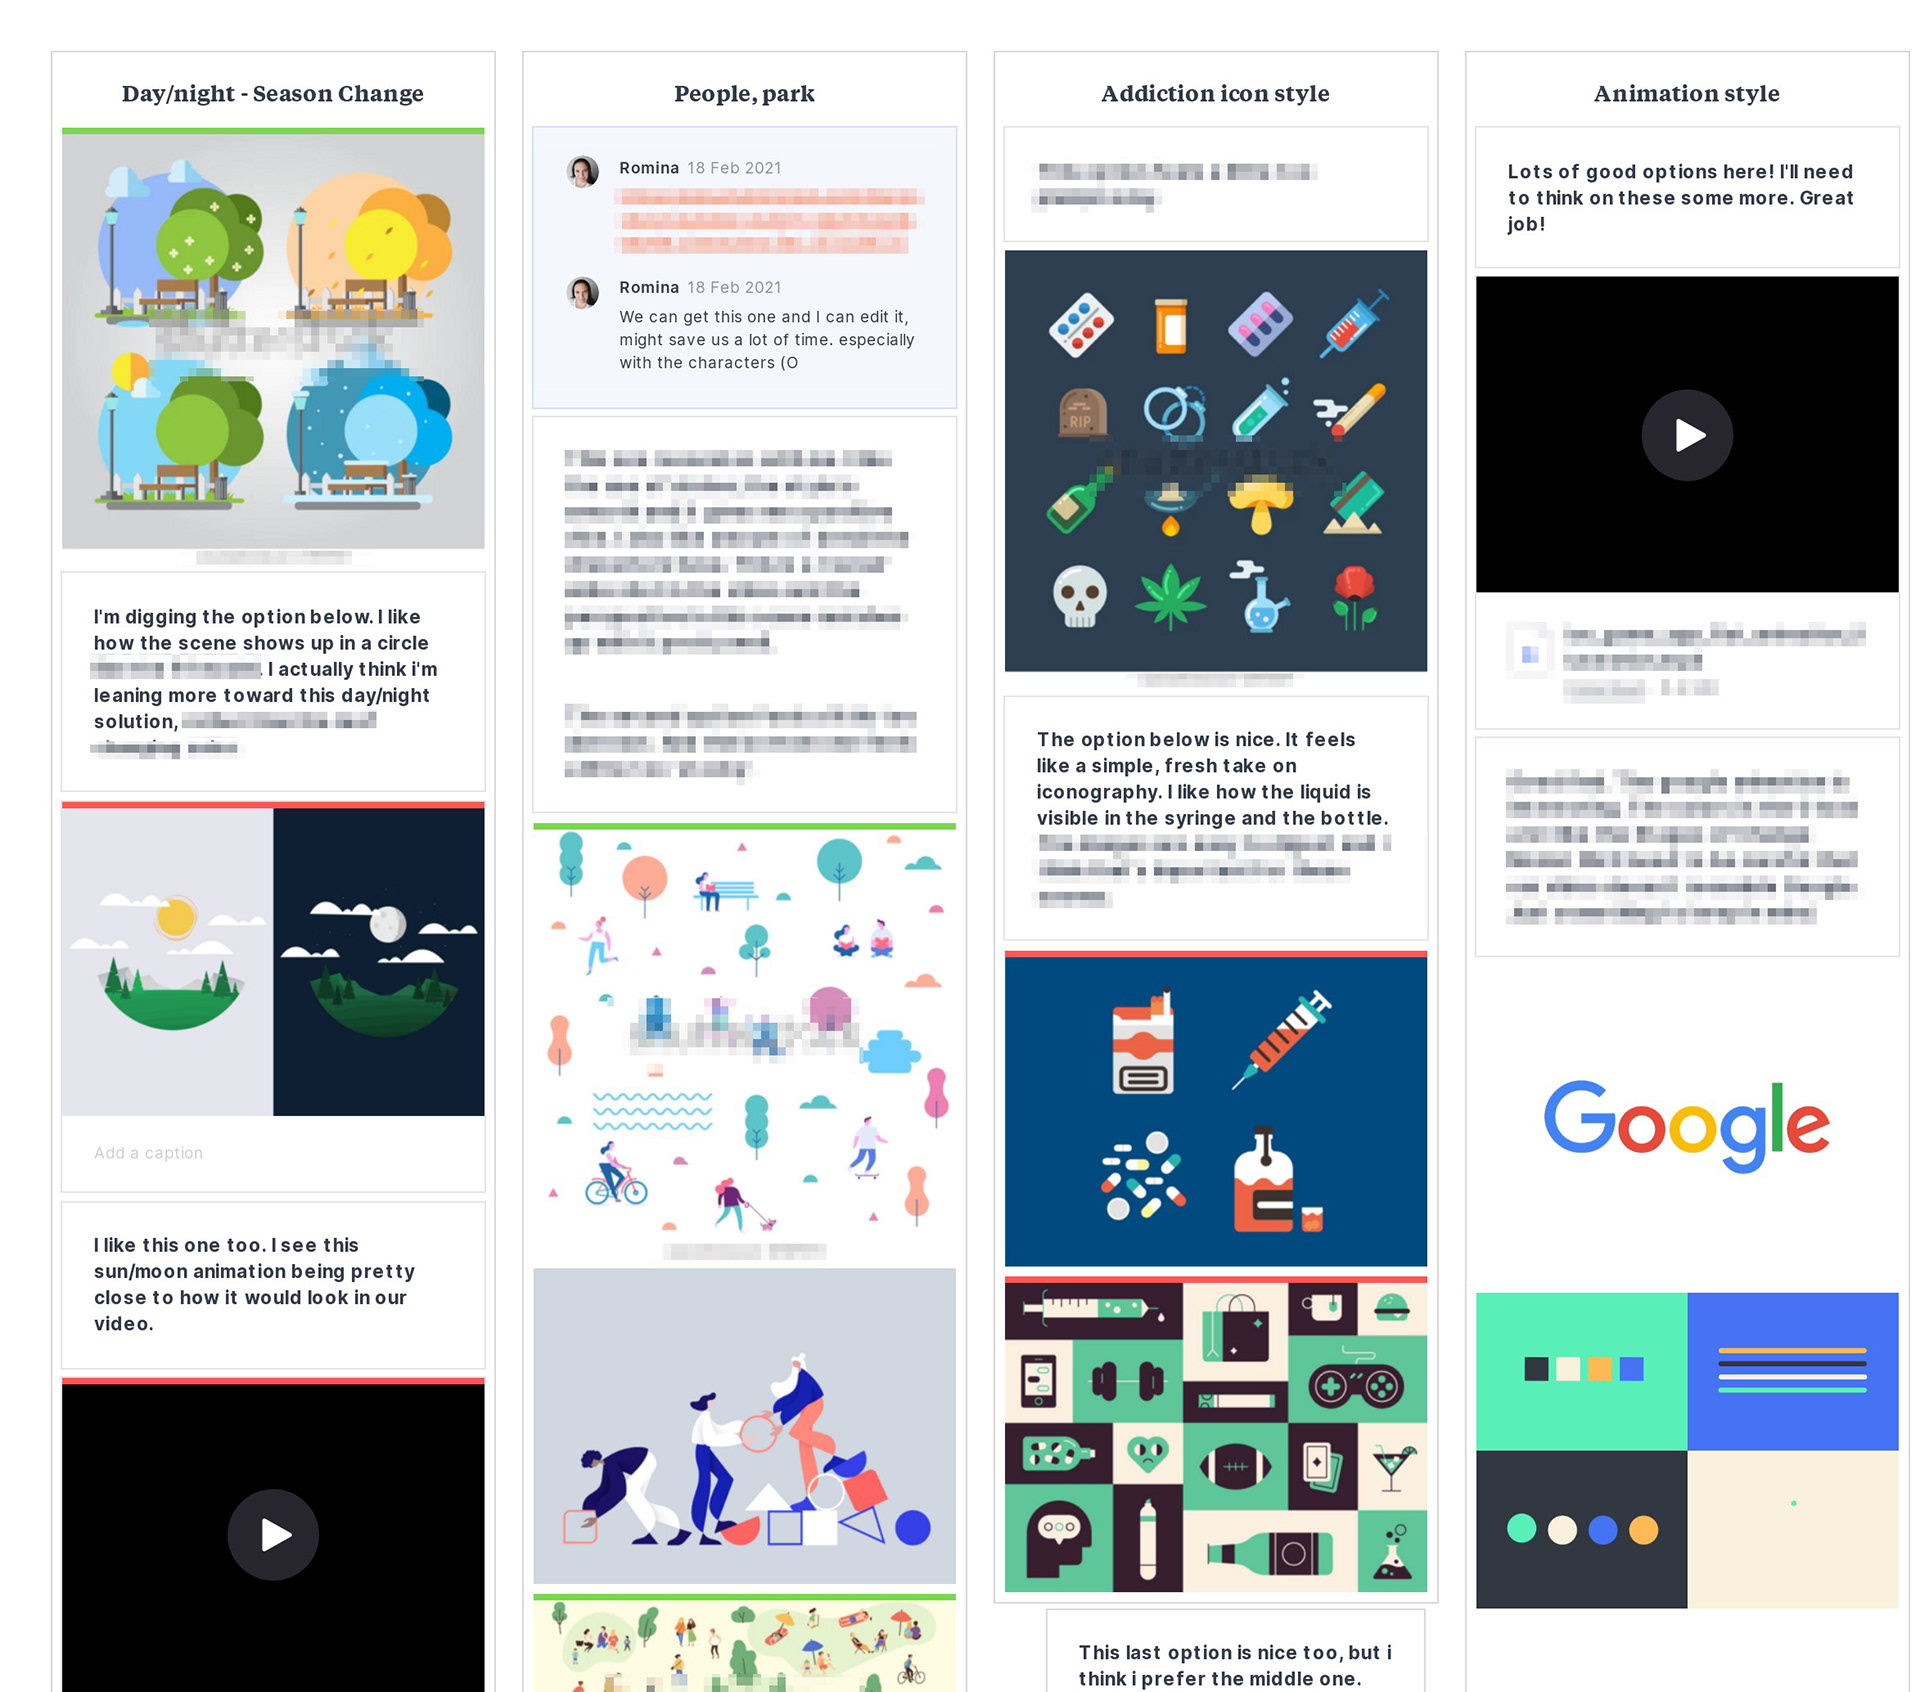
First, the client - an agency in this case - provided me with all the available assets (script, brief, company information, branded assets and brand guidelines). After I had a chance to review all these assets, I went on to create my moodboard.
I use the platform Milanote for this purpose, as it allows me to collaborate with decision makers and gives them the opportunity to add their own elements, notes and comments.
STEP 2 - Sketches
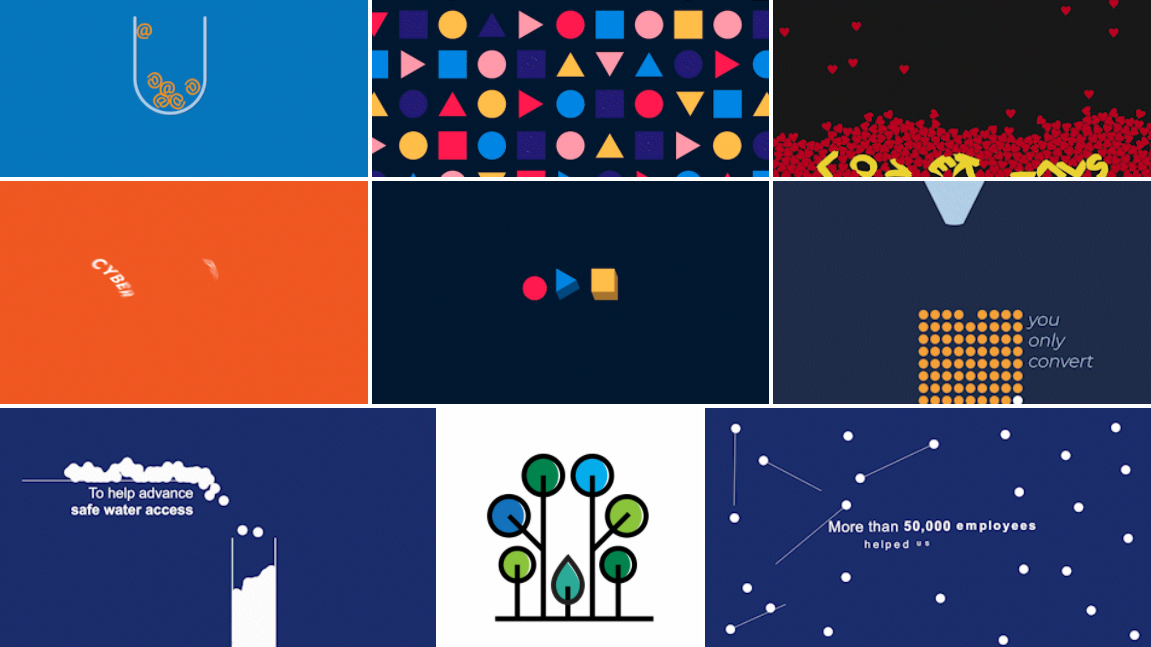
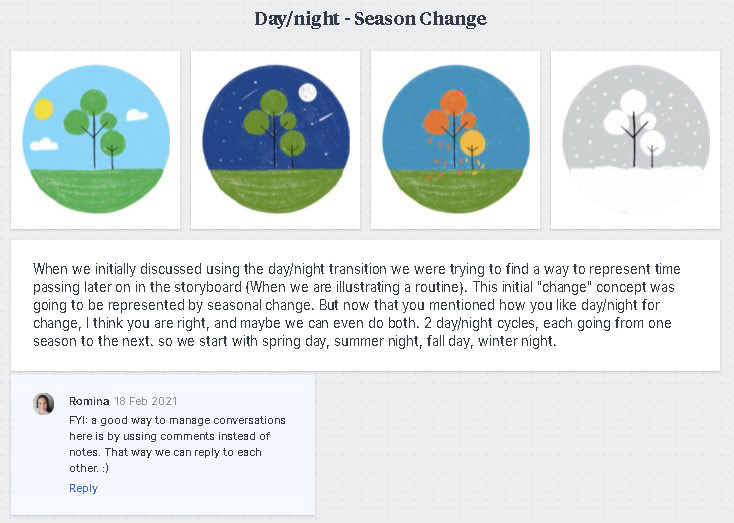
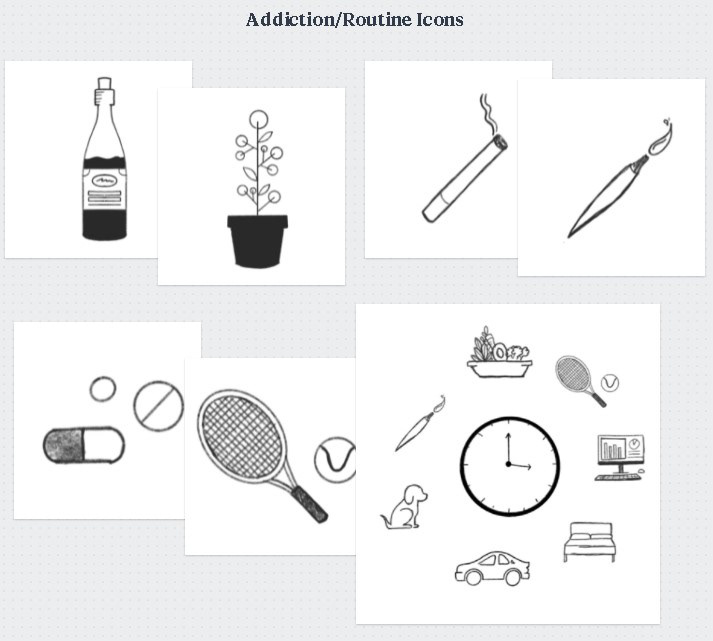
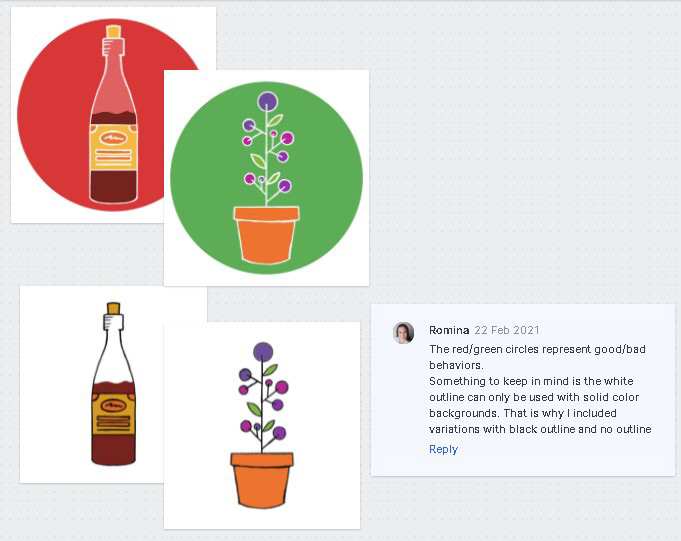
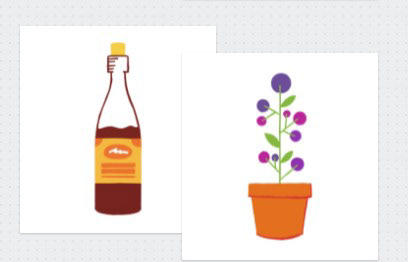
Because this video needed a lot of icons, it was important for us to figure out what these icons would look like from the beginning, that way we could build all other assets around them, and make sure each scene was balanced.
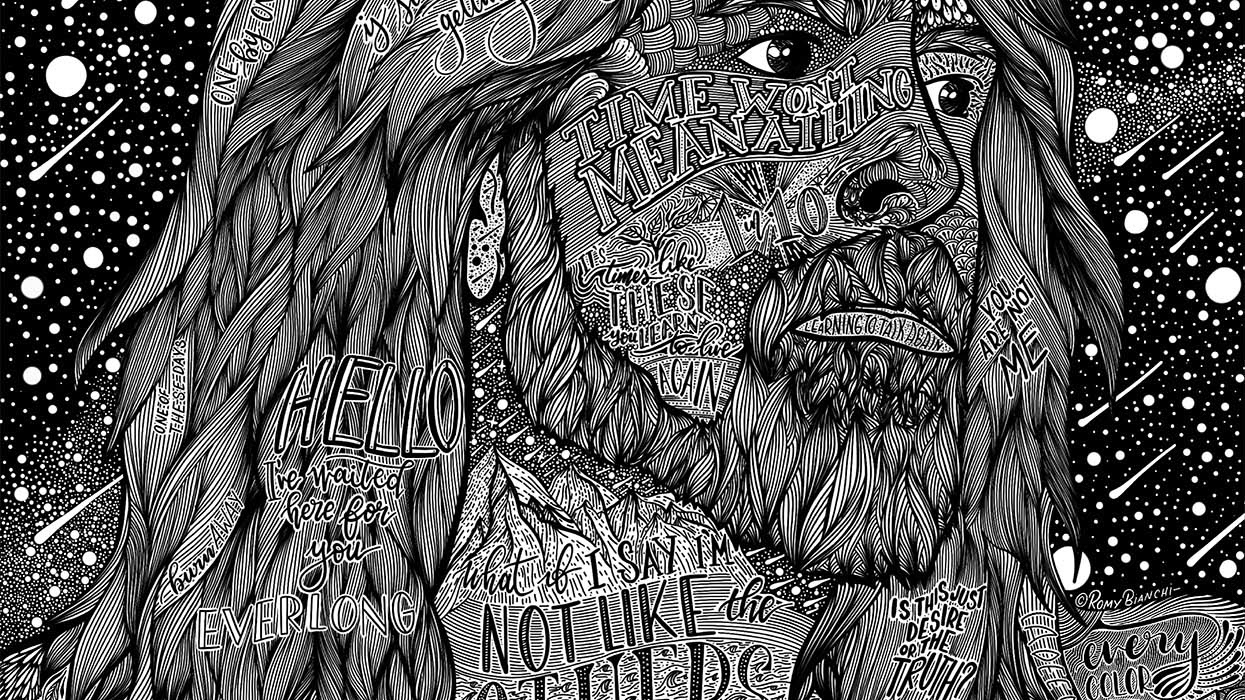
I created a few hand drawn sketches and collaborated with the Art Director until they felt they were close enough to what the client needed.
STEP 3 - Storyboard / Animatic
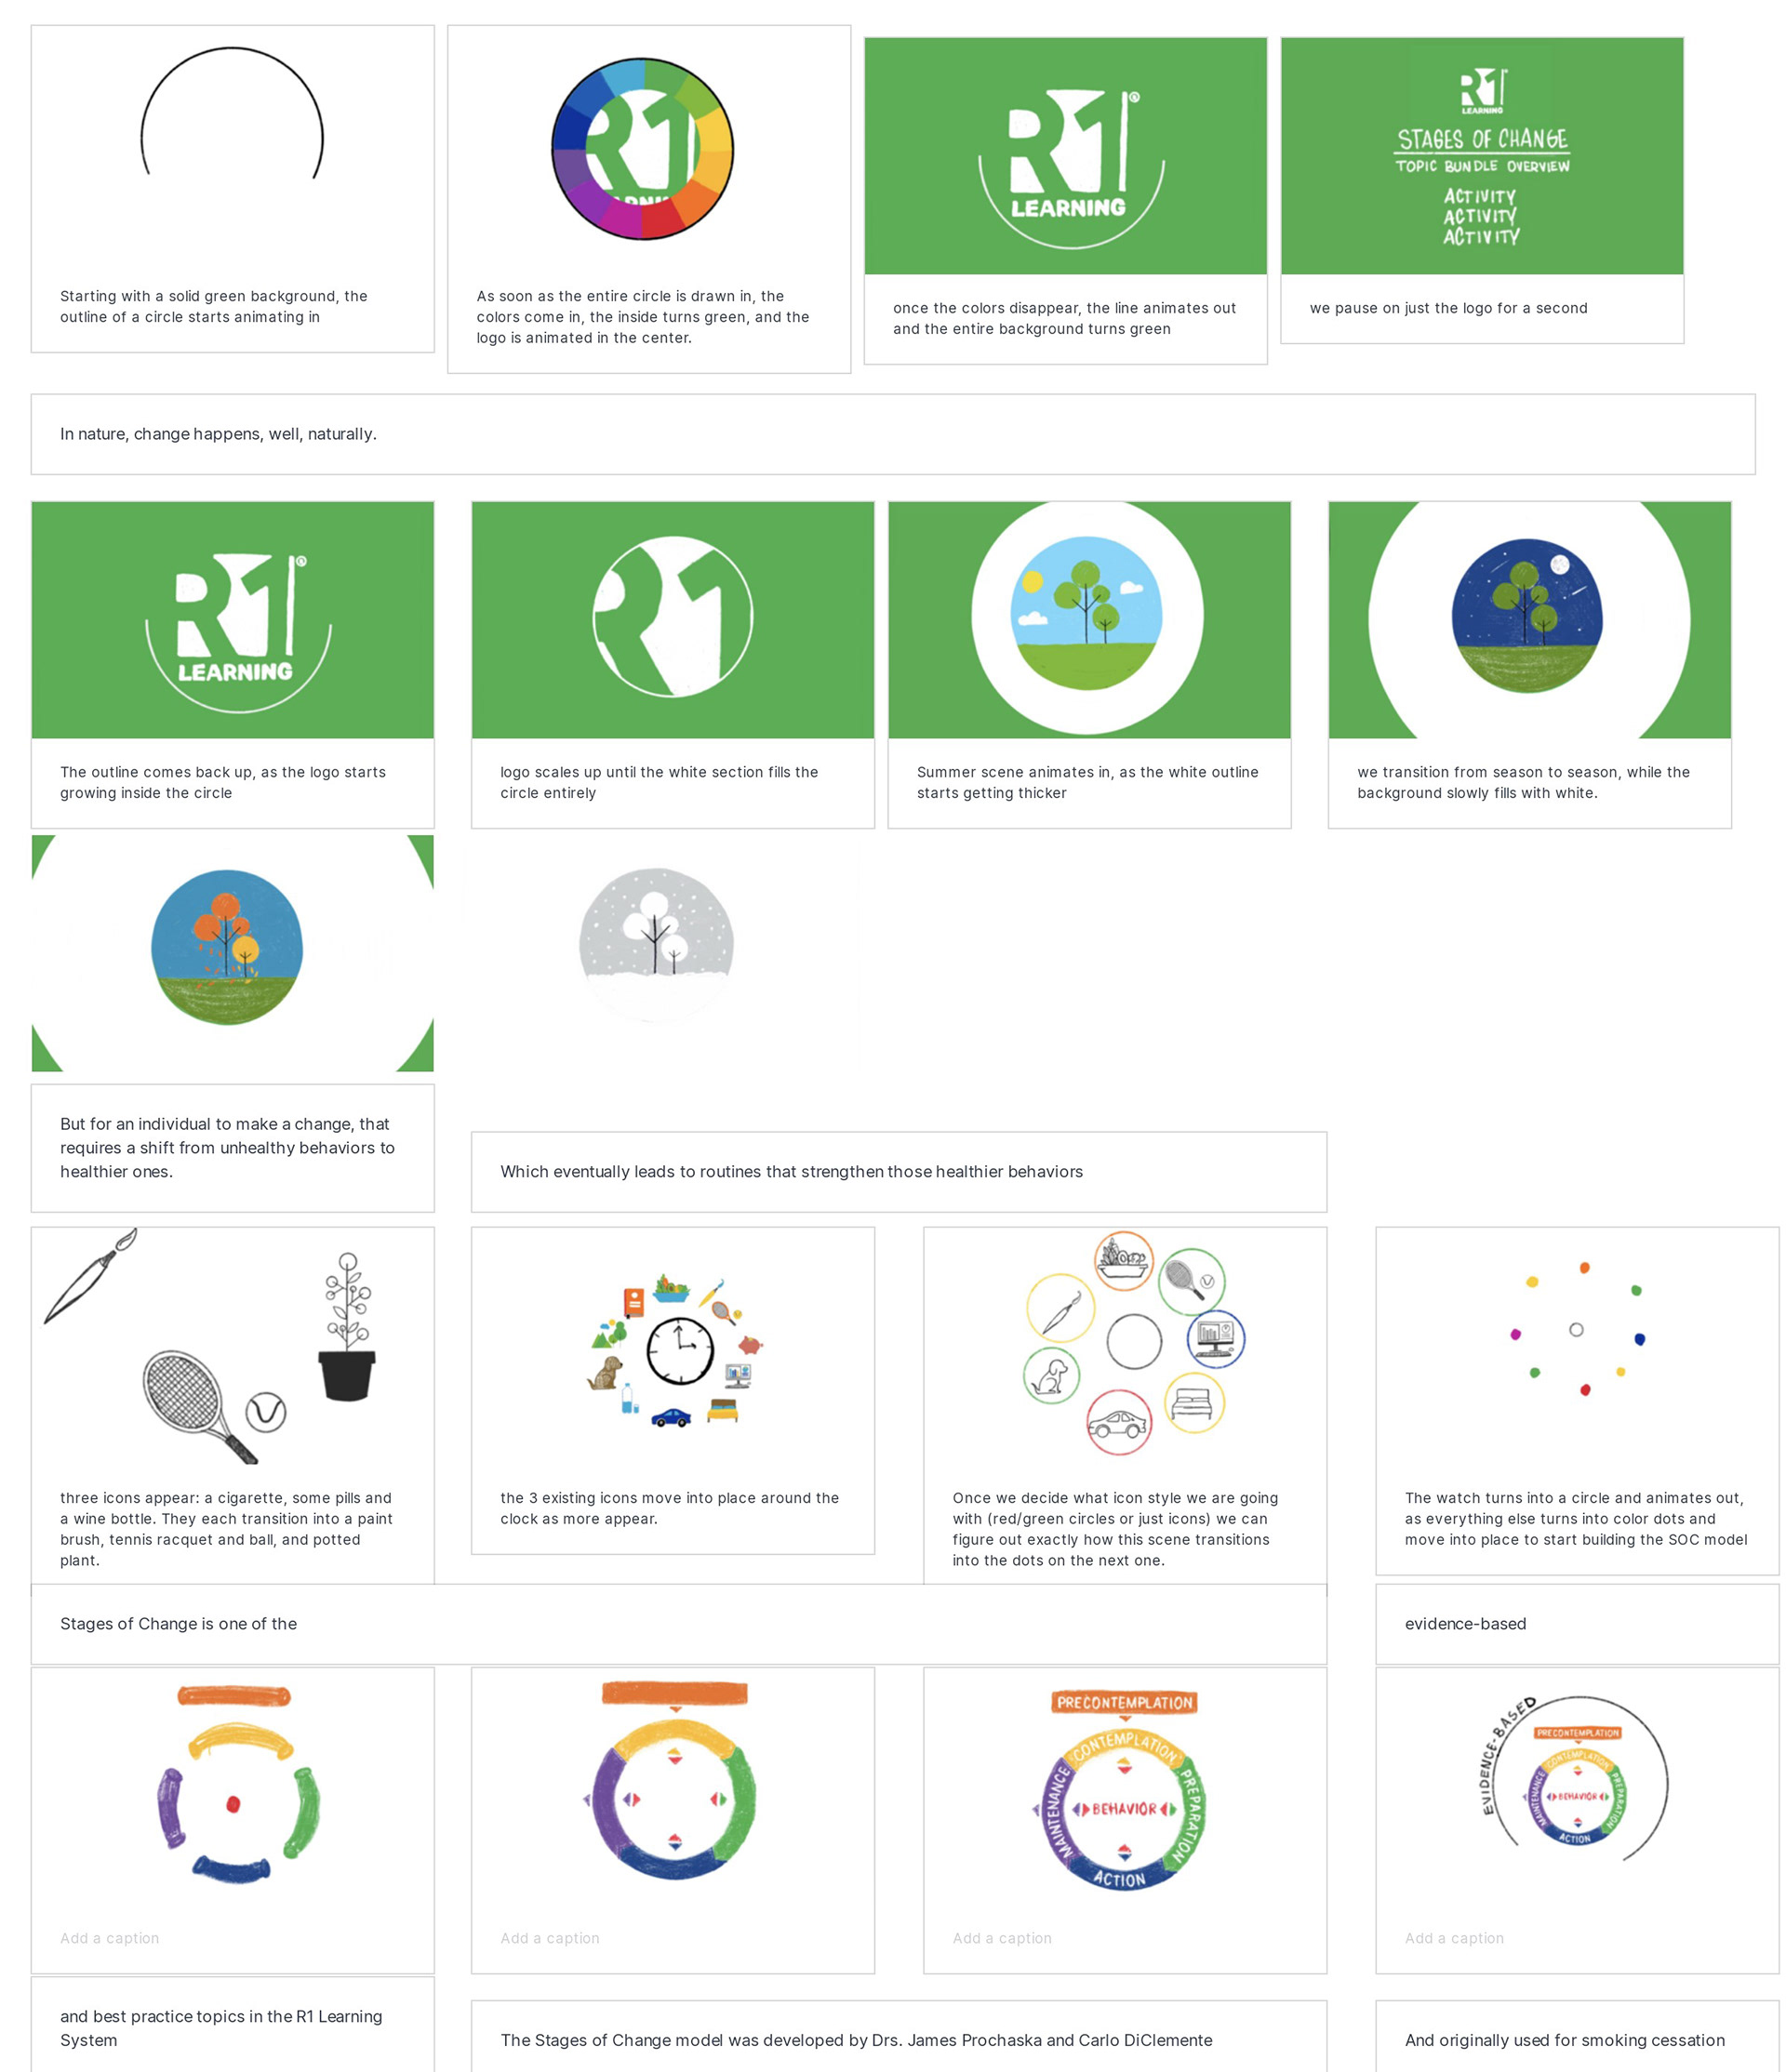
I worked on this storyboard in 2 phases. For phase 1 I sketched out all the scenes by hand, and animated some of the toughest concepts to illustrate, also by hand.
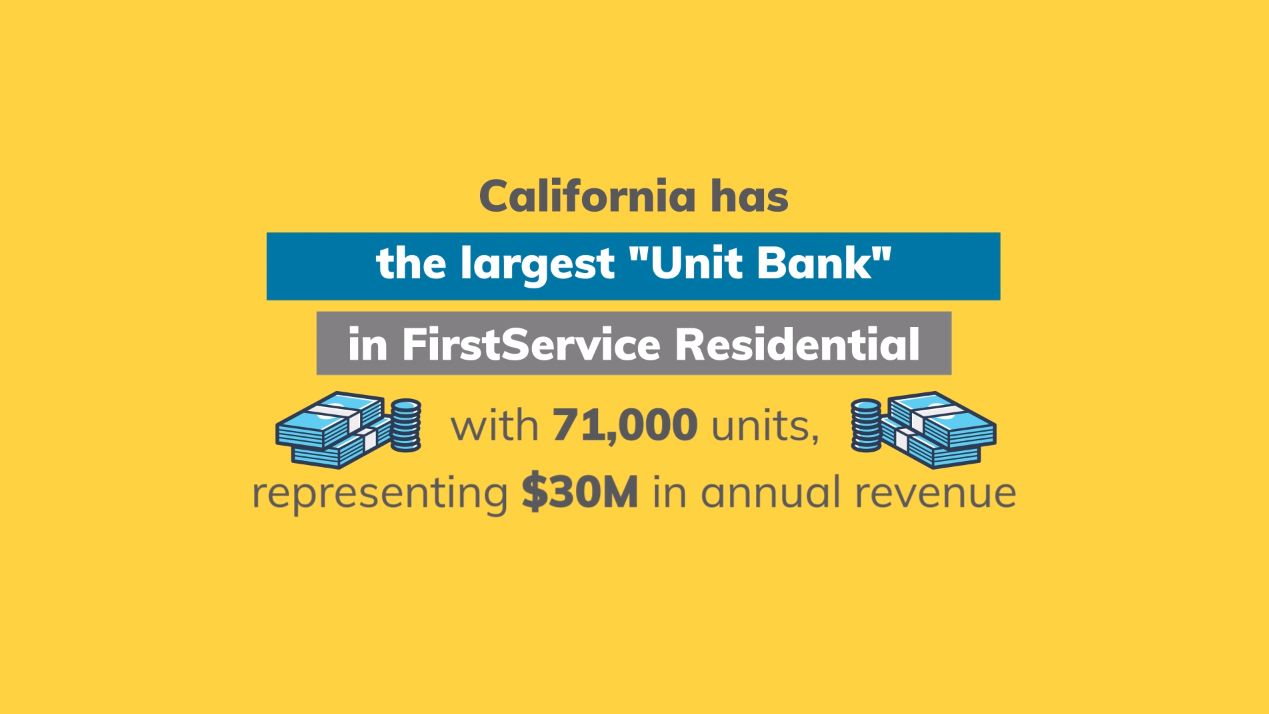
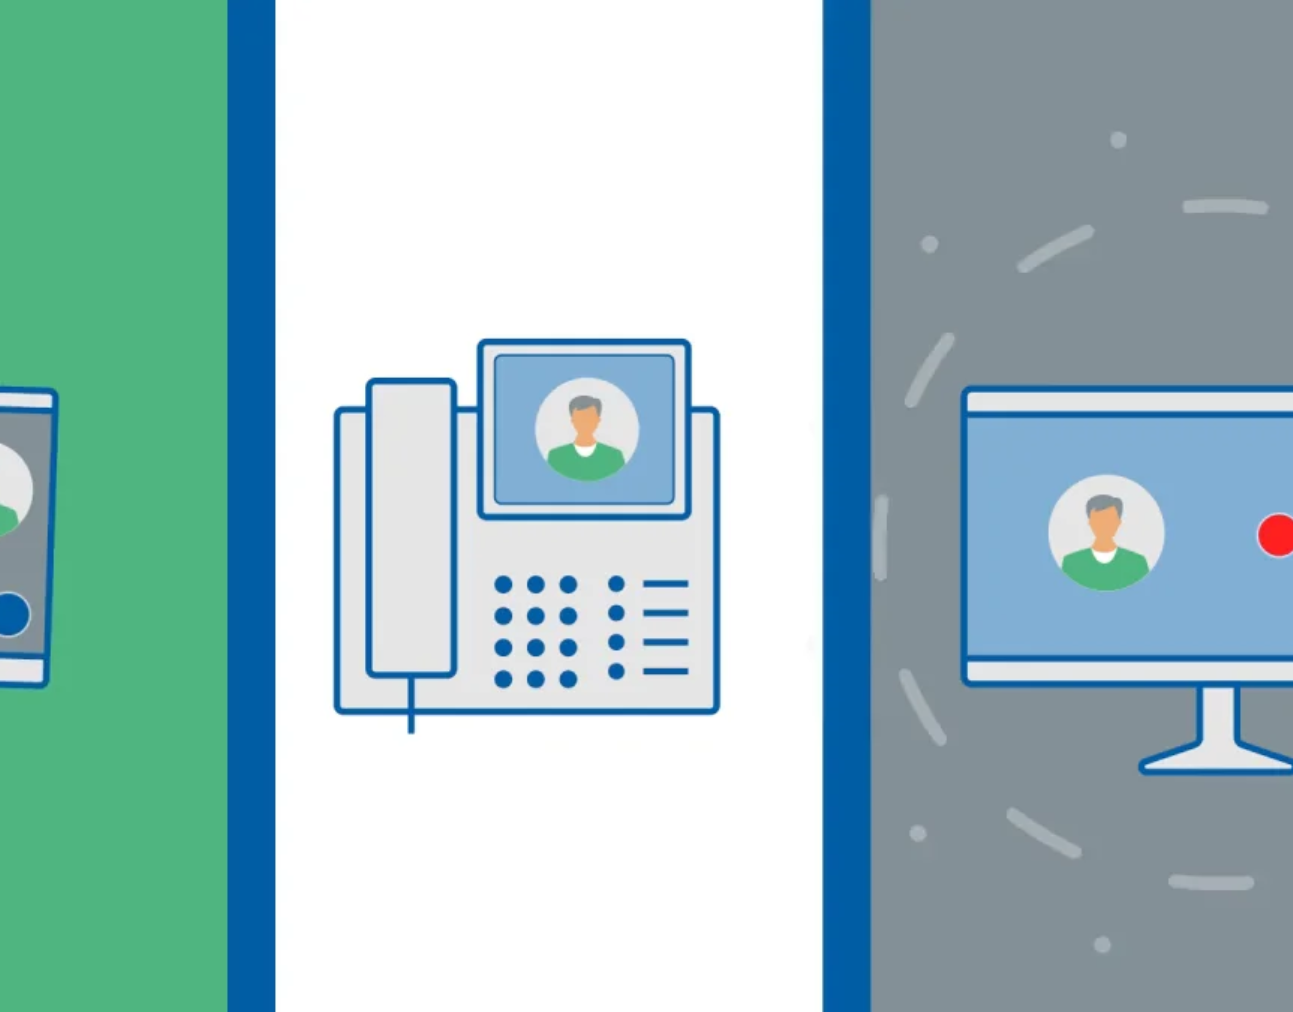
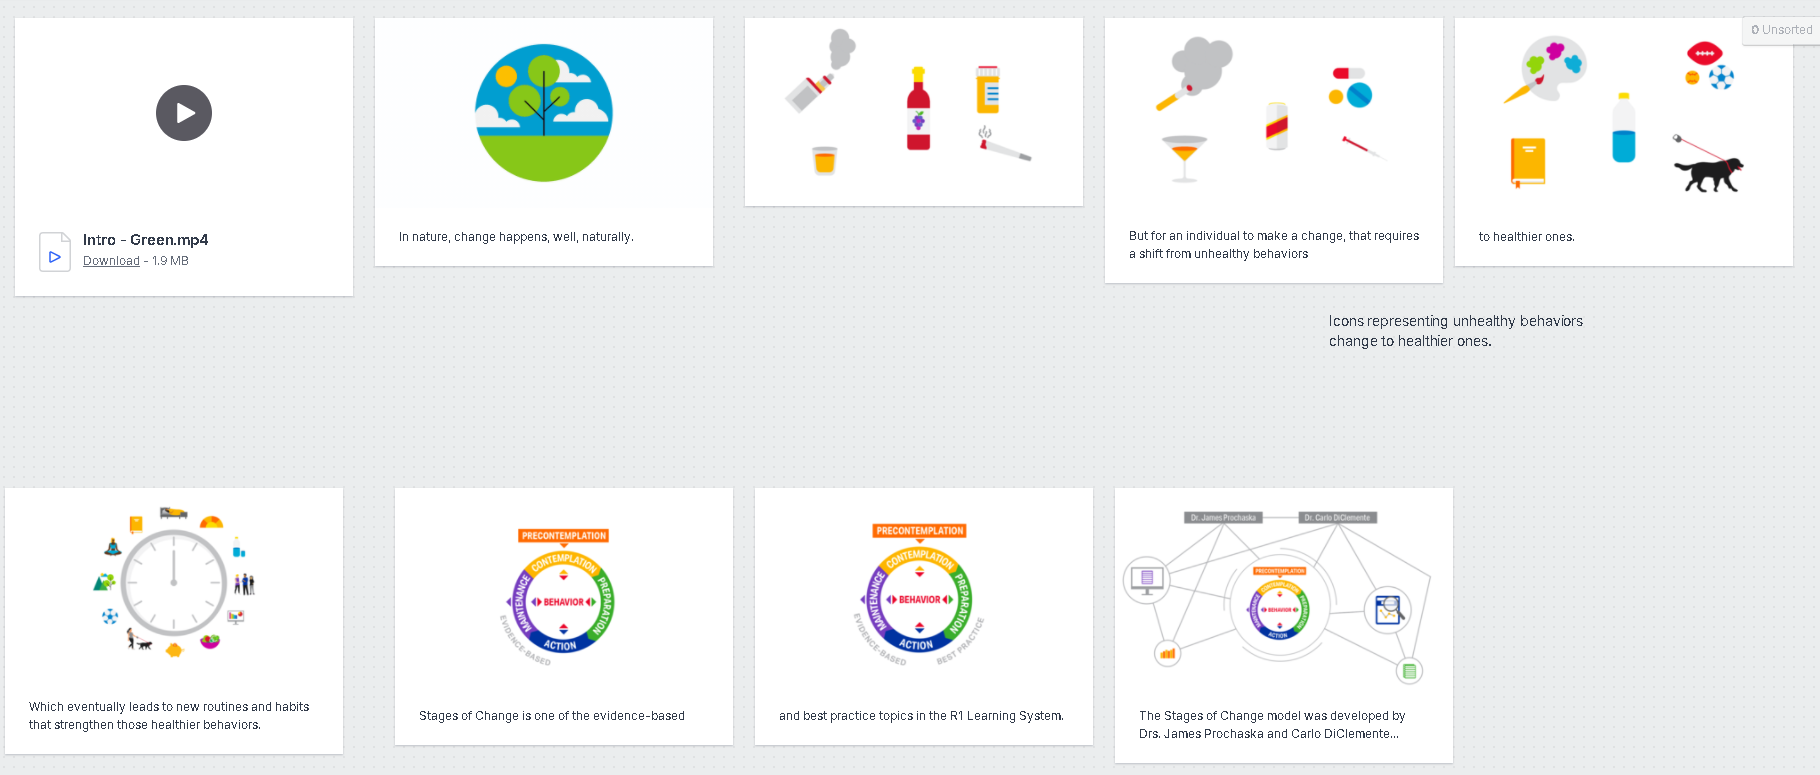
Once the general idea for each scene was decided, I moved on to Illustrator and created all the vector assets for these scenes, updating the storyboard to a cleaner look.

STEP 4 - Animation
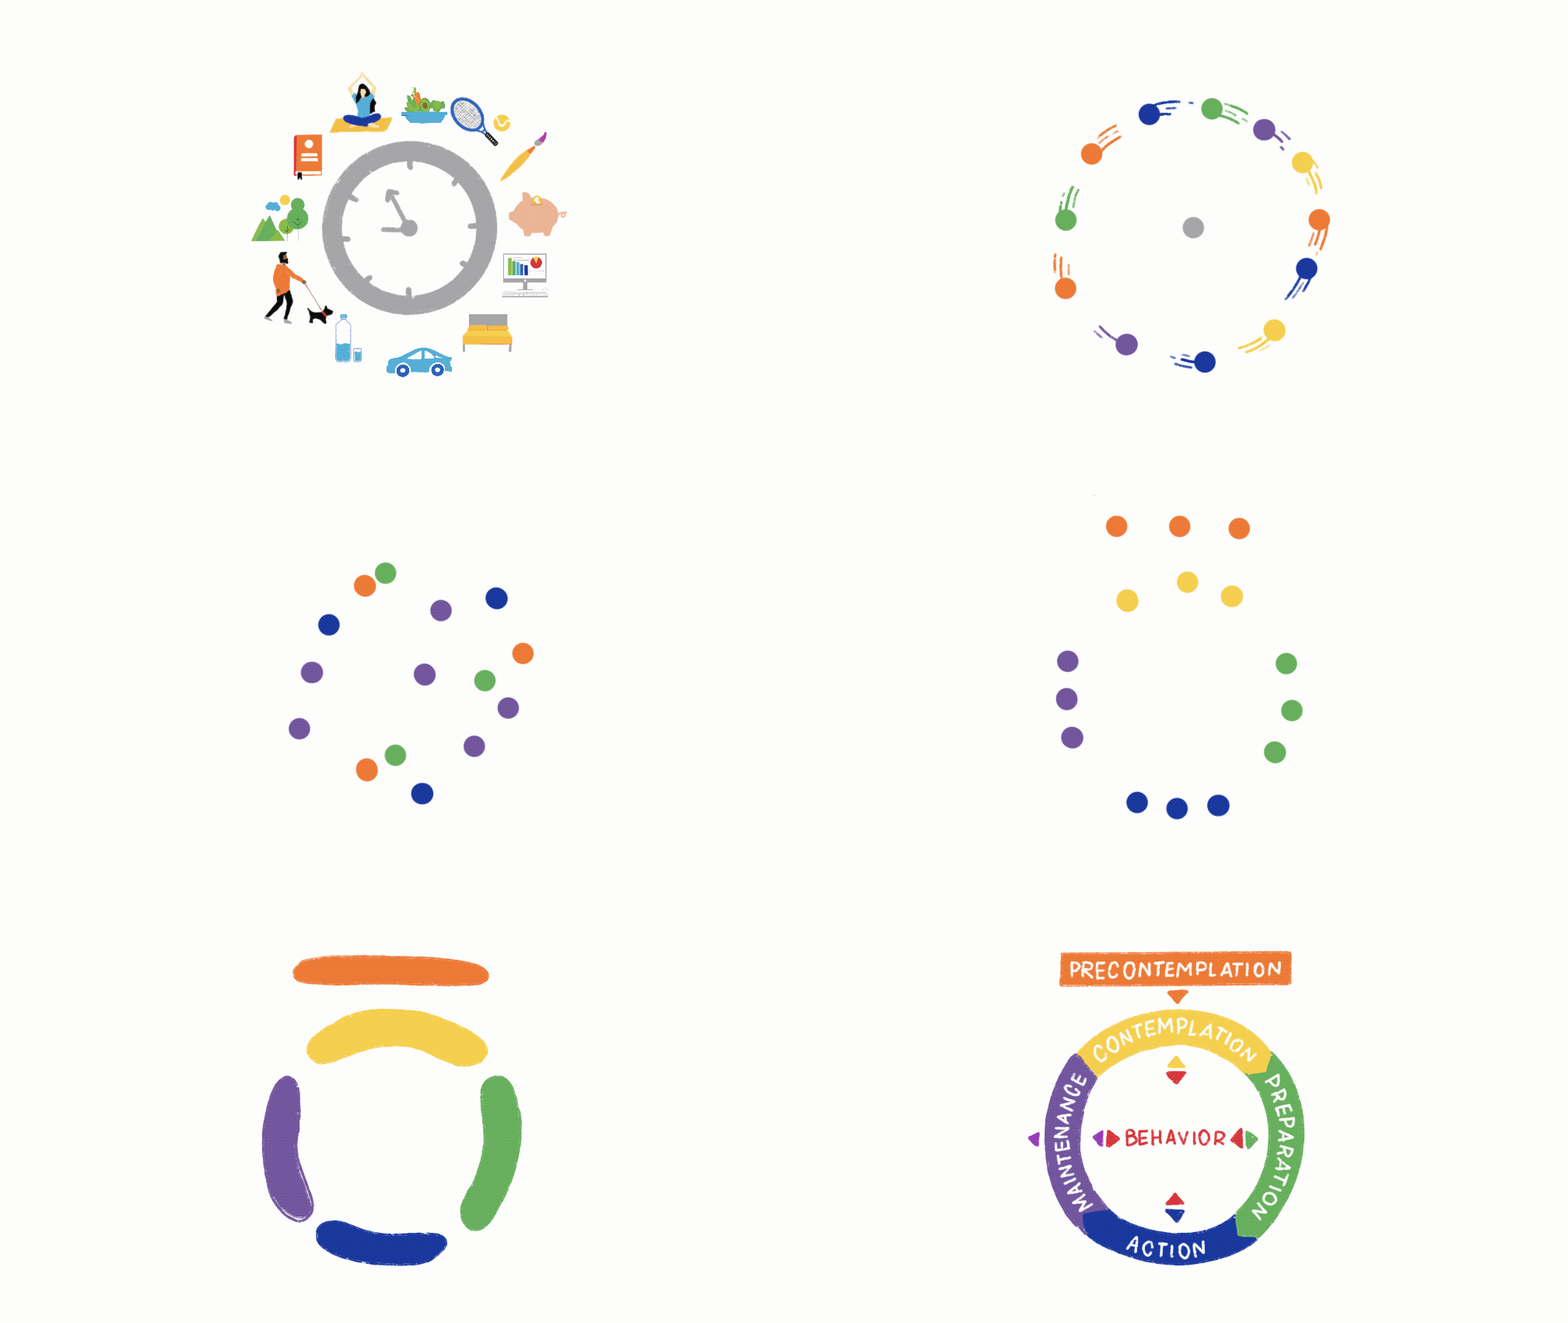
After several rounds of feedback, notes and changes to the storyboard, it's time to animate! Because the previous steps are so detailed, the animation phase is usually a breeze, since the only adjustments that need to be have to do with timing and specific effects.